


Solar Panel Systems - Demystifying The Installation Process
As the pressure on energy bills has risen over the past months, and a with constant drive towards a greener future, more and more households and businesses are looking to solar energy as an option to reduce the electric bill burden. Why not? An investment in solar energy can bring the reliance on grid energy down from the minute it is commissioned. But how do you get to that commissioning stage, allowing you to sit back and monitor your energy and the savings you are making? In this article, we take you through the process from start to finish so that you can have the confidence to start the process of installing a solar system at your property.
Step 1 - Specification
If your solar supplier is anything like HDM Solar they will advise you on the best system for your property. They should take into account the size and location of the area where the panels are best installed. Their proposal should indicate some important figures including the power output of the system, the power that you will generate per year, the cost and how quickly the system cost will be ‘paid back’ from the savings you’ve made.
What is ‘payback’?
Payback is the amount of time it will take for the savings you make to be the same as the cost of your solar installation. Usually between 5 and 7 years.
Do you need an installer?
We only recommend MCS accredited installers. You will need to have an MCS accredited system if you wish to put electricity from your system back into the National Grid and get paid for it. Find an installer near you by checking our Installer Locator.
What is MCS?
The Micro-generation Certification Scheme was created to maintain high standards, it certifies low-carbon products and installations used to produce electricity and heat from renewable sources. To find out if your installer is MCS certified check on the MCS website.
Step 2 - Equipment Delivery
Once you’ve agreed your installation package and installation date we will deliver the equipment to your site in good time for the installation to start. We’ll arrange this date with you. Everything will arrive fully packaged and will either be delivered by our own vehicles or by a trusted courier.

Step 3 - Scaffolding
It is likely that your installer will require scaffolding to safely access the roof where your solar panels are to be installed. It may be an inconvenience for a short time but this is an essential health and safety requirement to keep the installers safe when working at height. As soon as the installation is complete the scaffolding team should return to remove the scaffold quickly so that any disruption is minimised.

Step 4 - Electrical Work
Your installation team’s electricians should be qualified electricians and experienced in the installation of solar panel systems. They will only be MCS accredited if they have demonstrated expertise and safe installation on real-life projects.
Each project is slightly different so they will adapt their process to fit your exact needs but will likely start with the installation of the trunking and cabling as well as the installation of the inverter and battery, if you’ve specified one. The position of this equipment is up for discussion so that it is installed safely and conveniently. Most battery and solar PV inverters are IP65 rated which means they are water resistant.
The solar PV system electricians will also connect your system to your household or business electricity circuit ready for commissioning later in the process.

Step 5 - Installing the Panels
Your installers should have already checked the suitability of your roof to make sure it is strong enough and in good enough repair to be able to carry the weight of a solar panel system. For their size, solar panels are generally lightweight, but they can weigh around 20kg or more each so it is important to assess the roof properly.
Your installer’s roofing team will install brackets and mountings that have been specially selected for your particular roof type. Having the experts choose the correct mounting system will ensure your solar panels are securely mounted and safe for years to come.
Step 6 - Connecting the Panels to the System
You’re almost there and you’ll be itching to get your system up and running! The electricians will now connect your panels to the system and make sure everything is performing correctly. They will carry out performance and safety checks before showing you how everything works. Most modern inverters will come with app connectivity so you will be able to monitor your system’s performance and see how much energy it is generating. Some apps also show how much of the installation cost has been offset or ‘paid back’ by the savings you are making.
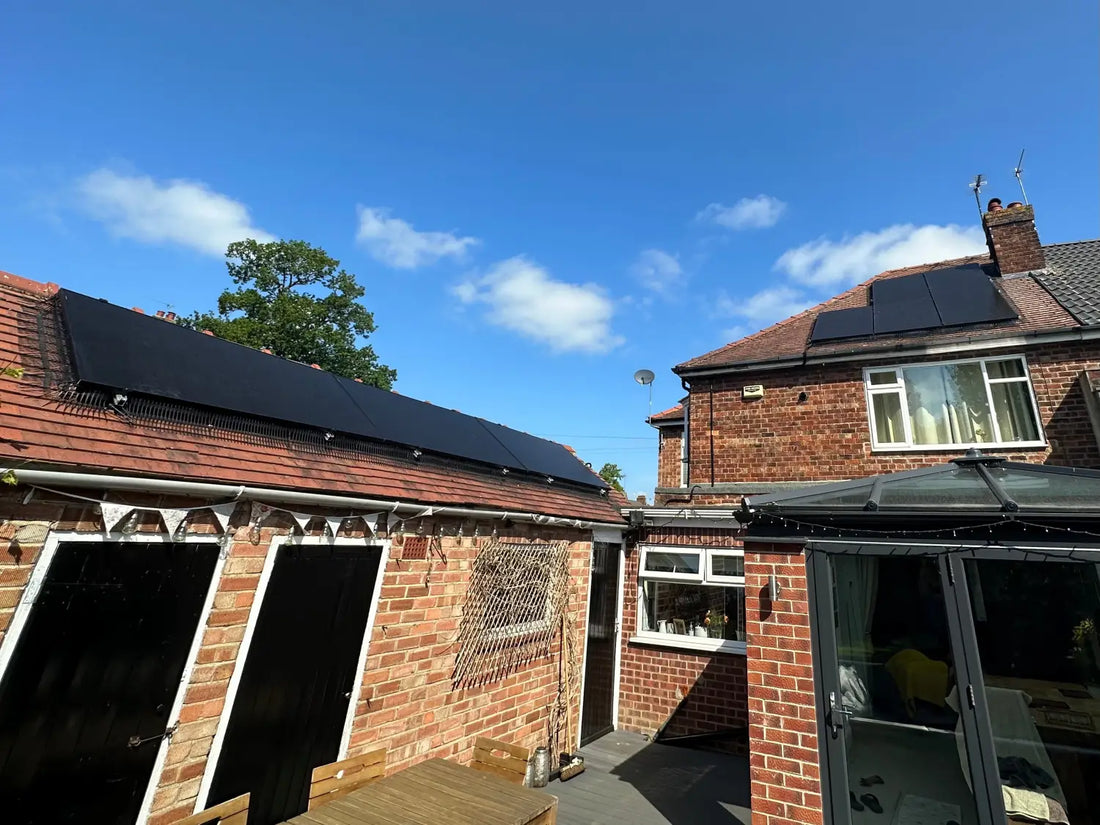
The completed project...
How long is an installation?
There is no typical install time as each system can have different numbers of panels and batteries, but a typical 8 panel system, with battery can take between 3 and 5 days to complete.
If you have any questions just get in touch, we’ll be happy to help.